Mac: Crucial M500 480GB SSD on an iMac 27" i7 (late 2009)

Tommy Emmanuel • Classical Gas ∆

Innards of a drunkard Spool juxtaposed with the lockstep of Flash ∆

From 115 to 255 • The old (CTO) 'bullet train' • 2.8Ghz Core i7 • 16GB RAM • 1067 Mhz • DDR3

(Before) Hitachi 2TB 7200rpm HDD • 115Mbps average ∆

(After) Crucial M500 480GB SSD • 255Mbps average ∆

Overview depicting the HDD assembly in the centre ∆

Close-up of the (blue) Jumper Block, SATA Data, SATA Power and Thermal Sensor plugs ∆

Prepping the Crucial SSD on a Sandisk 3.5" adaptor ∆

The (coffee table) workbench ∆
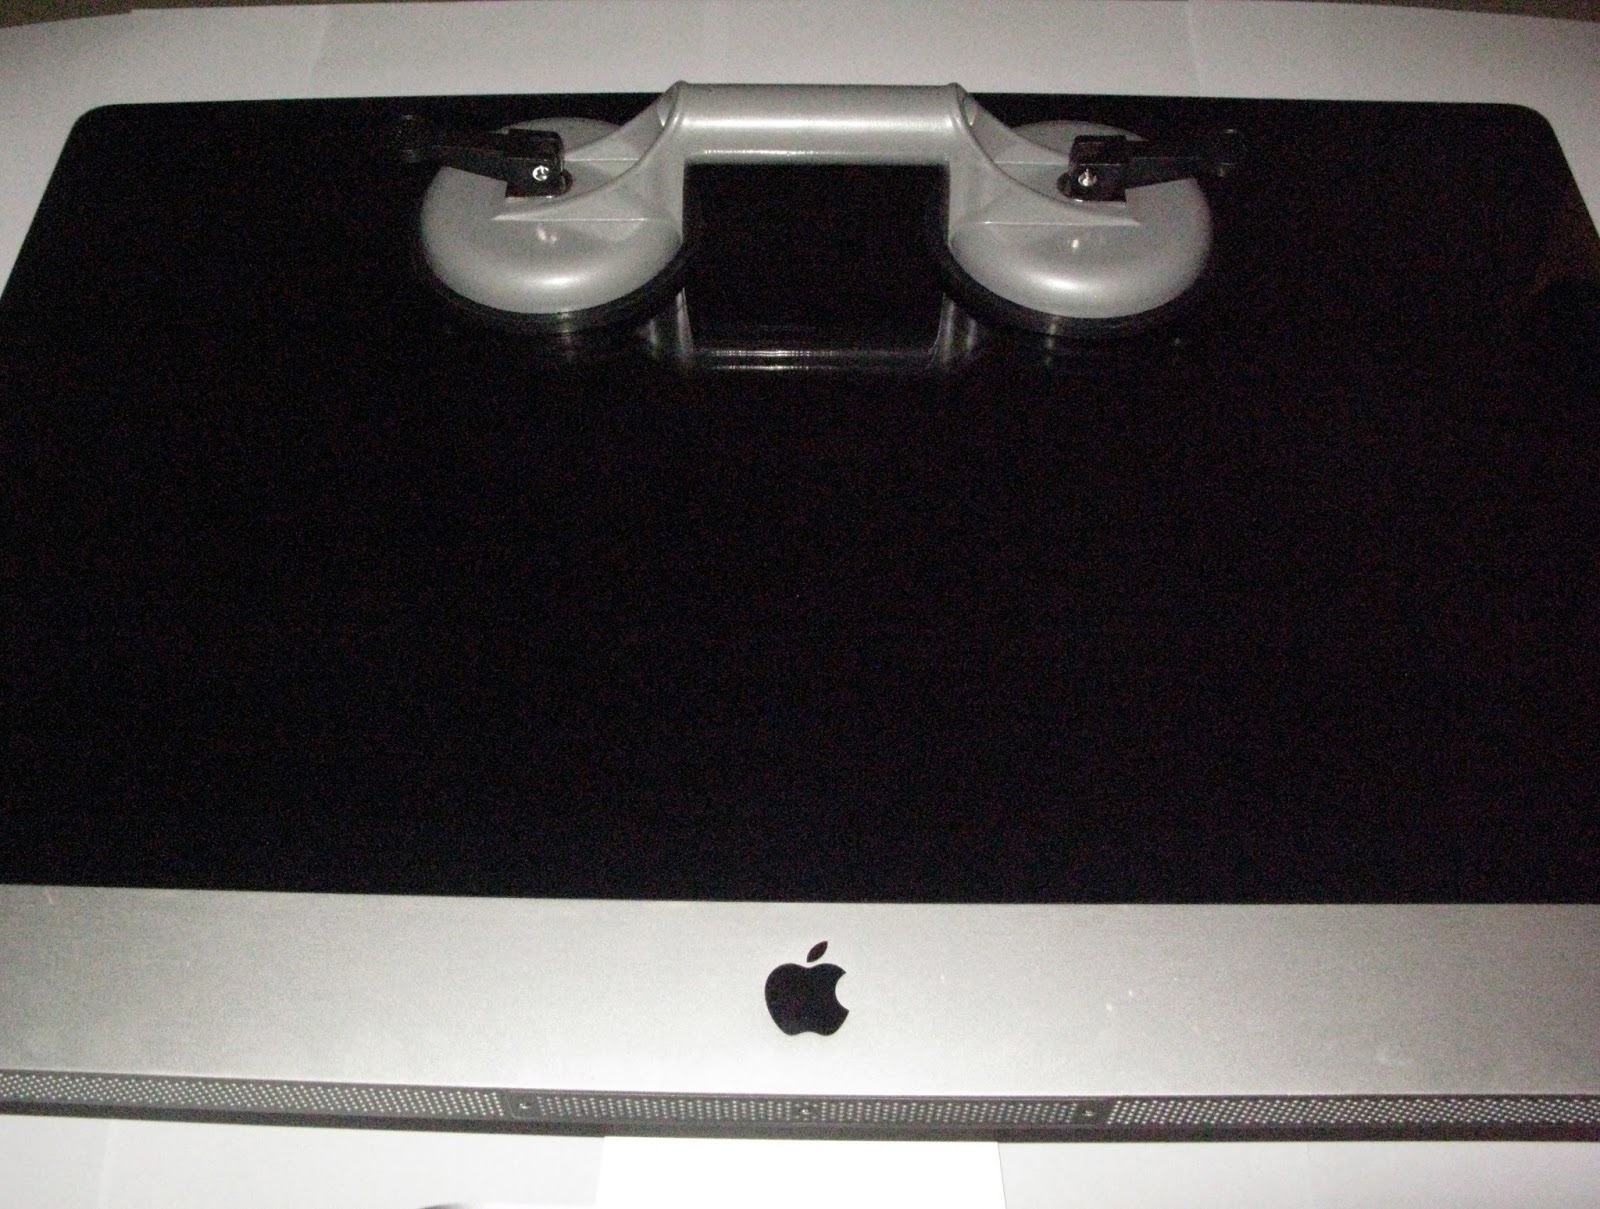
The 'overkill' glass lifter ∆

Masking the glass upon removal (for dust and smudge protection) ∆

Mask the LCD screen before lifting (for dust and smudge protection) ∆

Remove the RAM cards ∆

Remove the Vertical Sync cable ∆

Prop the LCD screen with chopsticks ∆

Overview of the HDD assembly ∆

Remove Thermal Sensor, SATA Power and SATA Data cables ∆

Re-attach HDD L-mounting bracket to SSD mounting plate ∆

Loop and insulate Thermal Sensor plug ∆

SSD in bay ∆

Boot machine, update SSD firmware and enable Trim ∆

Readings after 2 hours ∆

90 minute 1080 movie takes 22 minutes to Handbrake @ 60 Celsius average ∆
Procedure :- To retro-fit a 2.5” SSD in place of the 3.5” HDD in the 2009 iMac 27", I would first clone the HDD to the SSD with Carbon Copy Cloner or SuperDuper! and, with an abundance of caution, bench-test the clone as an external for a day or two to ensure that it is glitch-free. Then, I would remove the RAM door and memory cards and with appropriate suction cups, lift the front glass of its magnets, mask the glass, unscrew the torxs' holding down the LG panel and raise the fragile Korean just enough to unplug her Vertical Sync plug on the upper left.
Being a big girl when it comes to dismantling the plethora of cables necessary for removing the panel off completely, I would employ a mullah-style low-drop hanging exercise by propping the panel up (akin to an open bonnet of a car) with two pairs of chopsticks before unplugging the HDD Thermal Sensor, SATA Power and SATA Data plugs; and thereafter, remove the 3.5" HDD assembly with the Jumper Block.
Still working beneath the hanging panel, I would install the 2.5” SSD prepped on the 3.5” adaptor plate, re-connect the SATA Data and SATA Power plugs but not the HDD Thermal Sensor plug. Why? Because in the absence of the Jumper Block, the little plug has no where to plug itself into. This is because the SSD is not configured for a heat sensor as an HDD is, with a Jumper Block that interfaces with one.
Therefore, and to avoid confusing the Thermal Sensor that controls the speed of the fan, I would (as suggested by several online sifus) loop the two wires on the sensor plug, insulate the loop and tuck in the unconnected plug somewhere convenient. Sounds McGyverish and dodgy, not to mention very un-Apple, but a necessary workaround (if I may use an auto analogy) when retro-fitting a Hybrid moto into your daddy's Granada.
I would then lower the Korean just enough to push back her Vertical Sync plug and torx her down; and before installing the front glass, I would boot the machine, gauge fan whirr by ear and note fan speed and temperature readings on iStatMenus (or on the iStat widget) mindful that readings under 1500rpm and 55 celsius respectively, are optimal.
Lastly, I would un-mask the front glass, enjoin it to panel and enjoy my re-junevated 2009 'bullet train'.
Software :- Disk Utility, SuperDuper!, Crucial firmware update, Trim enabler
Tools :- SATA/USB emulator, glass lifter, Philips 3, Torx 8, tweezers, spudger, A3 paper, masking tape, 3M double sided tape, zip-ties, and chopsticks.
Cost :- RM1175 for the Crucial M500 480GB, RM40.00 for the emulator (@ Viewnet, LowYat Plaza, Kuala Lumpur)

The internal 2TB 3.5" drive is back in service ∆

Partitioned to clone several machines ∆
Words, Work - Tommy Peters


.jpg)

Comments
Post a Comment